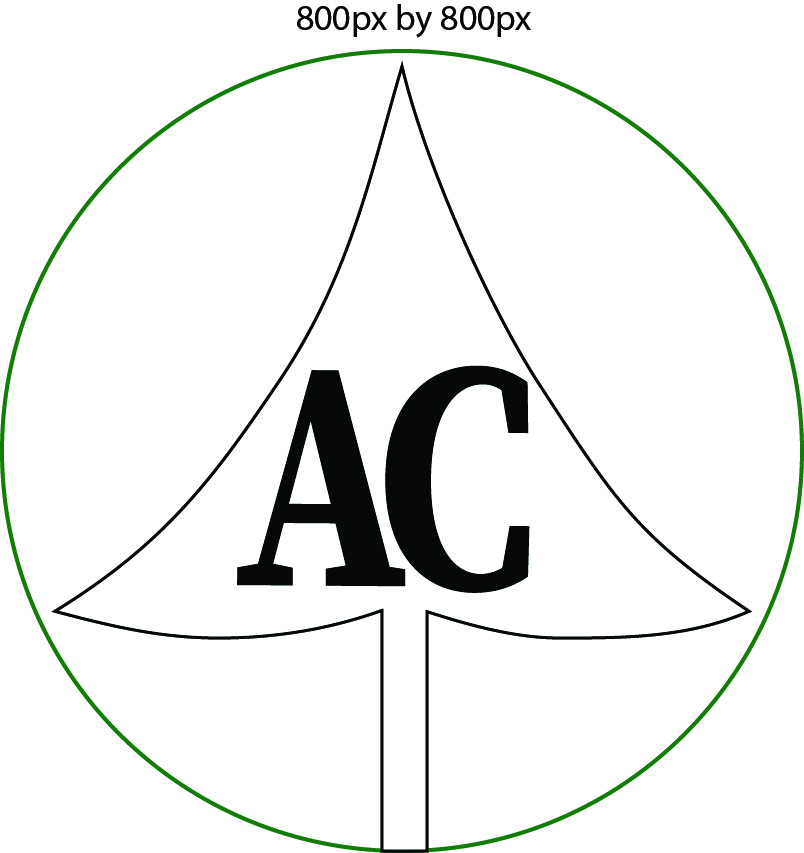
As you see in my log design I used quite a few tools in my quest to draft this logo. First let’s start with foundation of the logo and get to the circle. It is pretty easy to tell that the circle came from the Eclipse tool. One way to get to the eclipse tool on Adobe Illustrator is the letter L on your keyboard. Once you reach Eclipse as we know, you can create circles and ovals with no problem. As you see here, I perfectly scaled my circle to 175.9 even.
From there I was able to then fit a pine tree inside of my circle. With making the Pinetree, I quickly then discovered how to draw lines and make cuts to create an image. When I first started I wanted to figure out how to connect line segments to one another. To connect line segments together all you have to press Forward Slash. I fooled around with the Line Segment Tool for a little while and you can tell I used that tool to help make my bottom of the tree inside of the circle. I scaled them up perfectly and connected the line and from there I quickly went to use the Curvature Tool.
The Curvature Tool can be found by pressing Shift+. The tool came in handy as you can see that I used it to make the shape of a pine tree. The shape in being the leaves and texture of the tree. I found that part to be a little confusing at first because I would always try to draw straight lines with the tool rather than making lines with complete curvy line segments.
Finally, I used The Type Tool to make the letters of my tree. A shortcut to find this tool is simply by pressing T. In my logo for example, I scaled my letters very big to appeal to potential customers that would want to contact or recognize my company and the services we could provide to you. I also bolded my words as well to really make great appeal efforts to other people. The letters in my opinion were the easiest step in all of this, but it was the most important for representing my companies image. My colors that I used were also to show correlation to what my service could do to fill your needs.
